> For the complete documentation index, see [llms.txt](https://nuflorist.gitbook.io/nuflorist/llms.txt). Markdown versions of documentation pages are available by appending `.md` to page URLs; this page is available as [Markdown](https://nuflorist.gitbook.io/nuflorist/occasions/creating-an-occasion.md).

# Creating an Occasion

Creating an occasion in the NuFlorist app allows your customers to choose from pre-set events with curated messages and addons products.

## Creating an Occasion

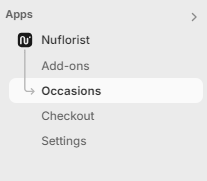
1. From the main dashboard, find and click on the "Occasions" tab.

<div align="left"><figure><img src="https://3921206916-files.gitbook.io/~/files/v0/b/gitbook-x-prod.appspot.com/o/spaces%2FY2Zj6yf7mzr5DgaLY1Lh%2Fuploads%2F7oCfP78Mh8t1bXuIGeUv%2Fimage.png?alt=media&amp;token=18a7beee-f803-4b56-8c87-453b42c19fc6" alt=""><figcaption></figcaption></figure></div>

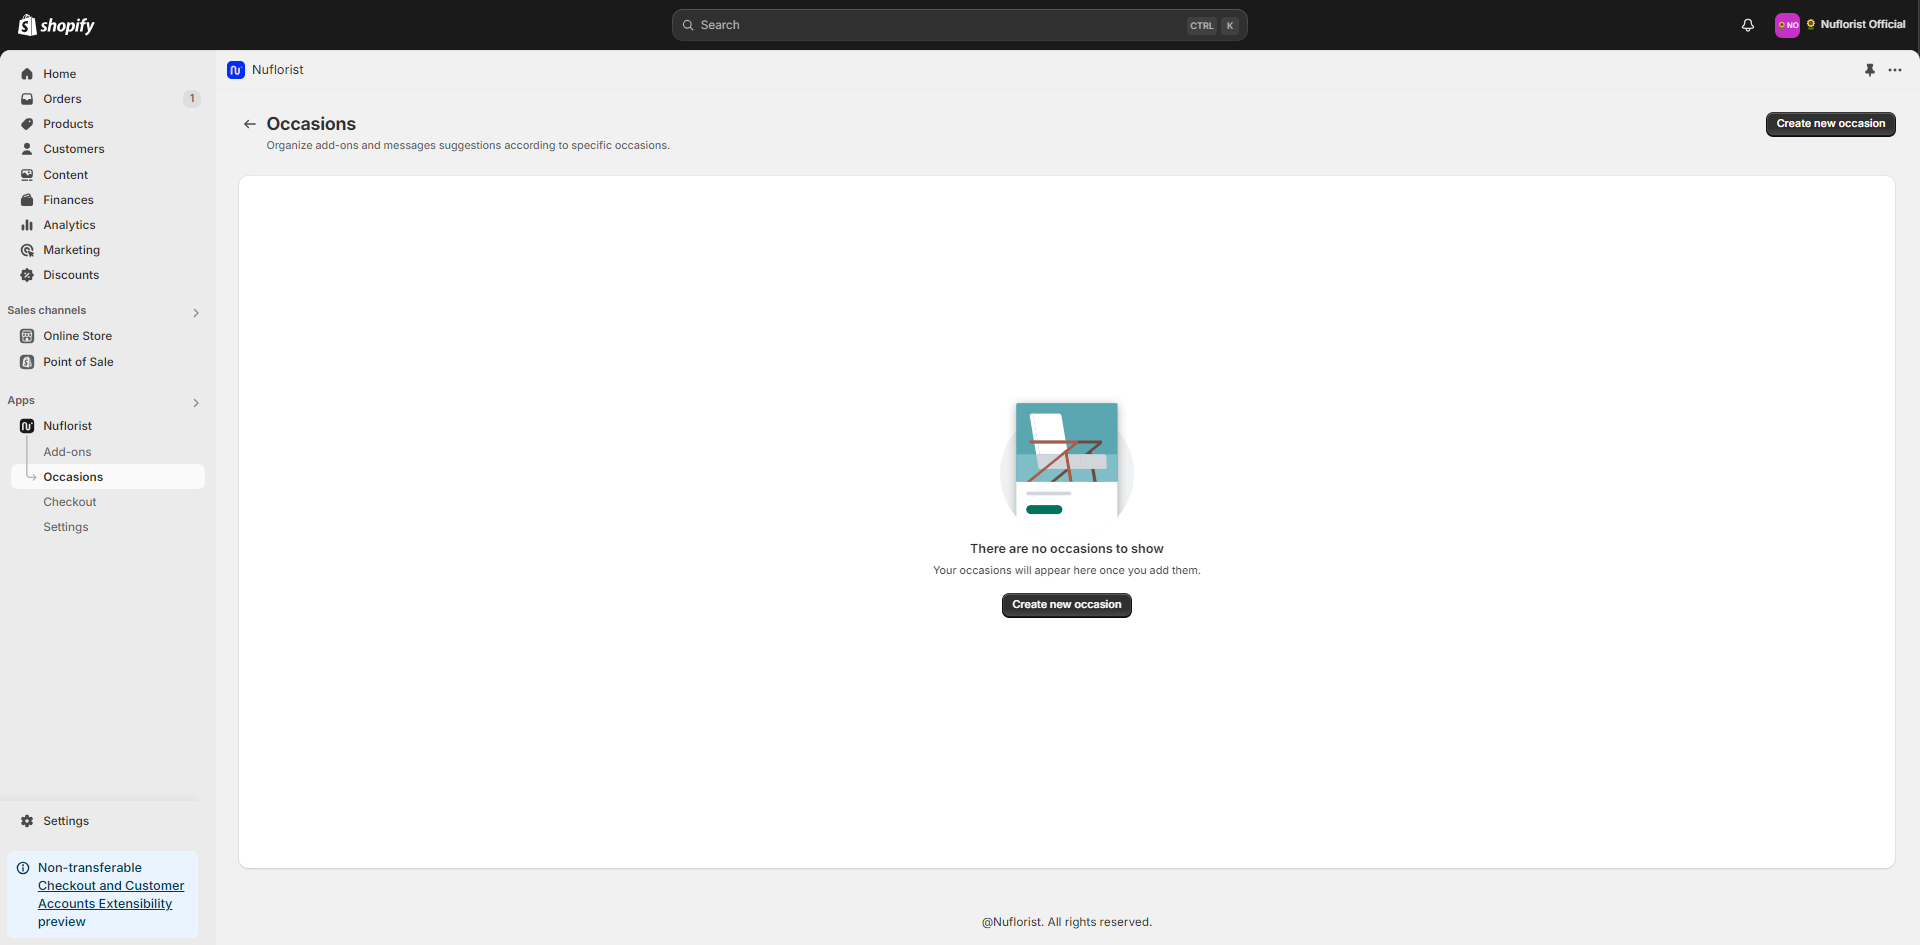
2. On the Occasions screen, you’ll see a button labeled "Create a new occasion." Click on this to start setting up your occasion.

<figure><img src="https://3921206916-files.gitbook.io/~/files/v0/b/gitbook-x-prod.appspot.com/o/spaces%2FY2Zj6yf7mzr5DgaLY1Lh%2Fuploads%2FNsy5jiDfXTqabSU4zLqT%2Fimage.png?alt=media&amp;token=f4f0745f-4444-47cf-87fb-d421e06762dd" alt=""><figcaption></figcaption></figure>

## Set Occasion Details

### Title

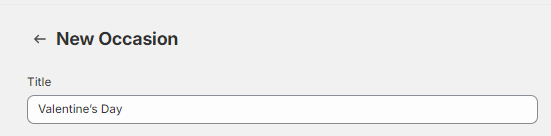
Enter a user-friendly title for your occasion. This is what your customers will see, so make it clear and appealing, e.g., "Valentine’s Day."

<div align="left"><figure><img src="https://3921206916-files.gitbook.io/~/files/v0/b/gitbook-x-prod.appspot.com/o/spaces%2FY2Zj6yf7mzr5DgaLY1Lh%2Fuploads%2FiyWmiRZioa4cNxRuHm6x%2Fimage.png?alt=media&amp;token=cab4fffb-9af5-4b74-a5c4-4778cb3baf3d" alt=""><figcaption></figcaption></figure></div>

### Message

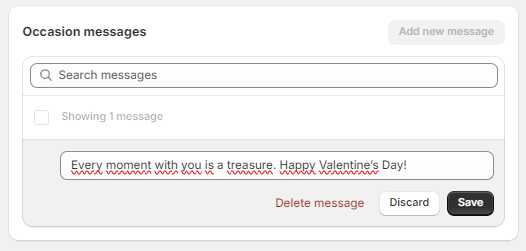
Click on "Add New Message" to create a pre-set message for the occasion. You can add up to 10 messages.

<div align="left"><figure><img src="https://3921206916-files.gitbook.io/~/files/v0/b/gitbook-x-prod.appspot.com/o/spaces%2FY2Zj6yf7mzr5DgaLY1Lh%2Fuploads%2Fd0XfTN6Va2cGviVOOKfe%2Fimage.png?alt=media&amp;token=a9fe3ca3-a159-471a-8180-25aa5e907041" alt=""><figcaption></figcaption></figure></div>

## Connect addons Categories

### Create a category:

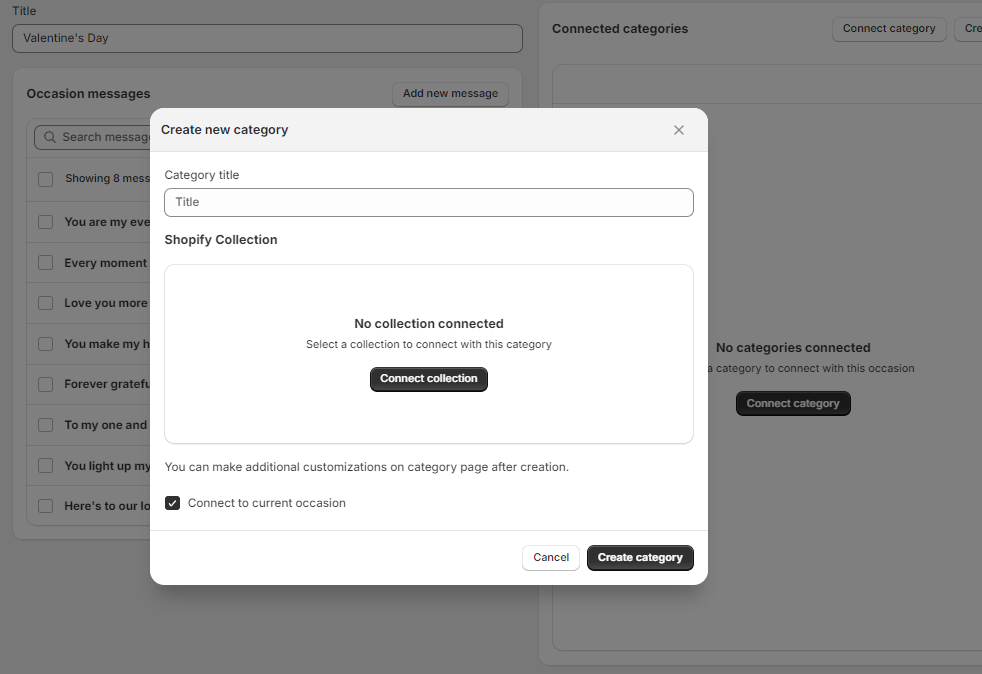
If you don’t have the addons category already created, you can quickly set up a new one by clicking on “Create new” and adding the details through the popup window.

<figure><img src="https://3921206916-files.gitbook.io/~/files/v0/b/gitbook-x-prod.appspot.com/o/spaces%2FY2Zj6yf7mzr5DgaLY1Lh%2Fuploads%2F9psdVebrg2Xea6POgtBi%2Fimage.png?alt=media&amp;token=9517678d-4654-4e0e-acf6-35b19bf49983" alt=""><figcaption></figcaption></figure>

### Connect Category:

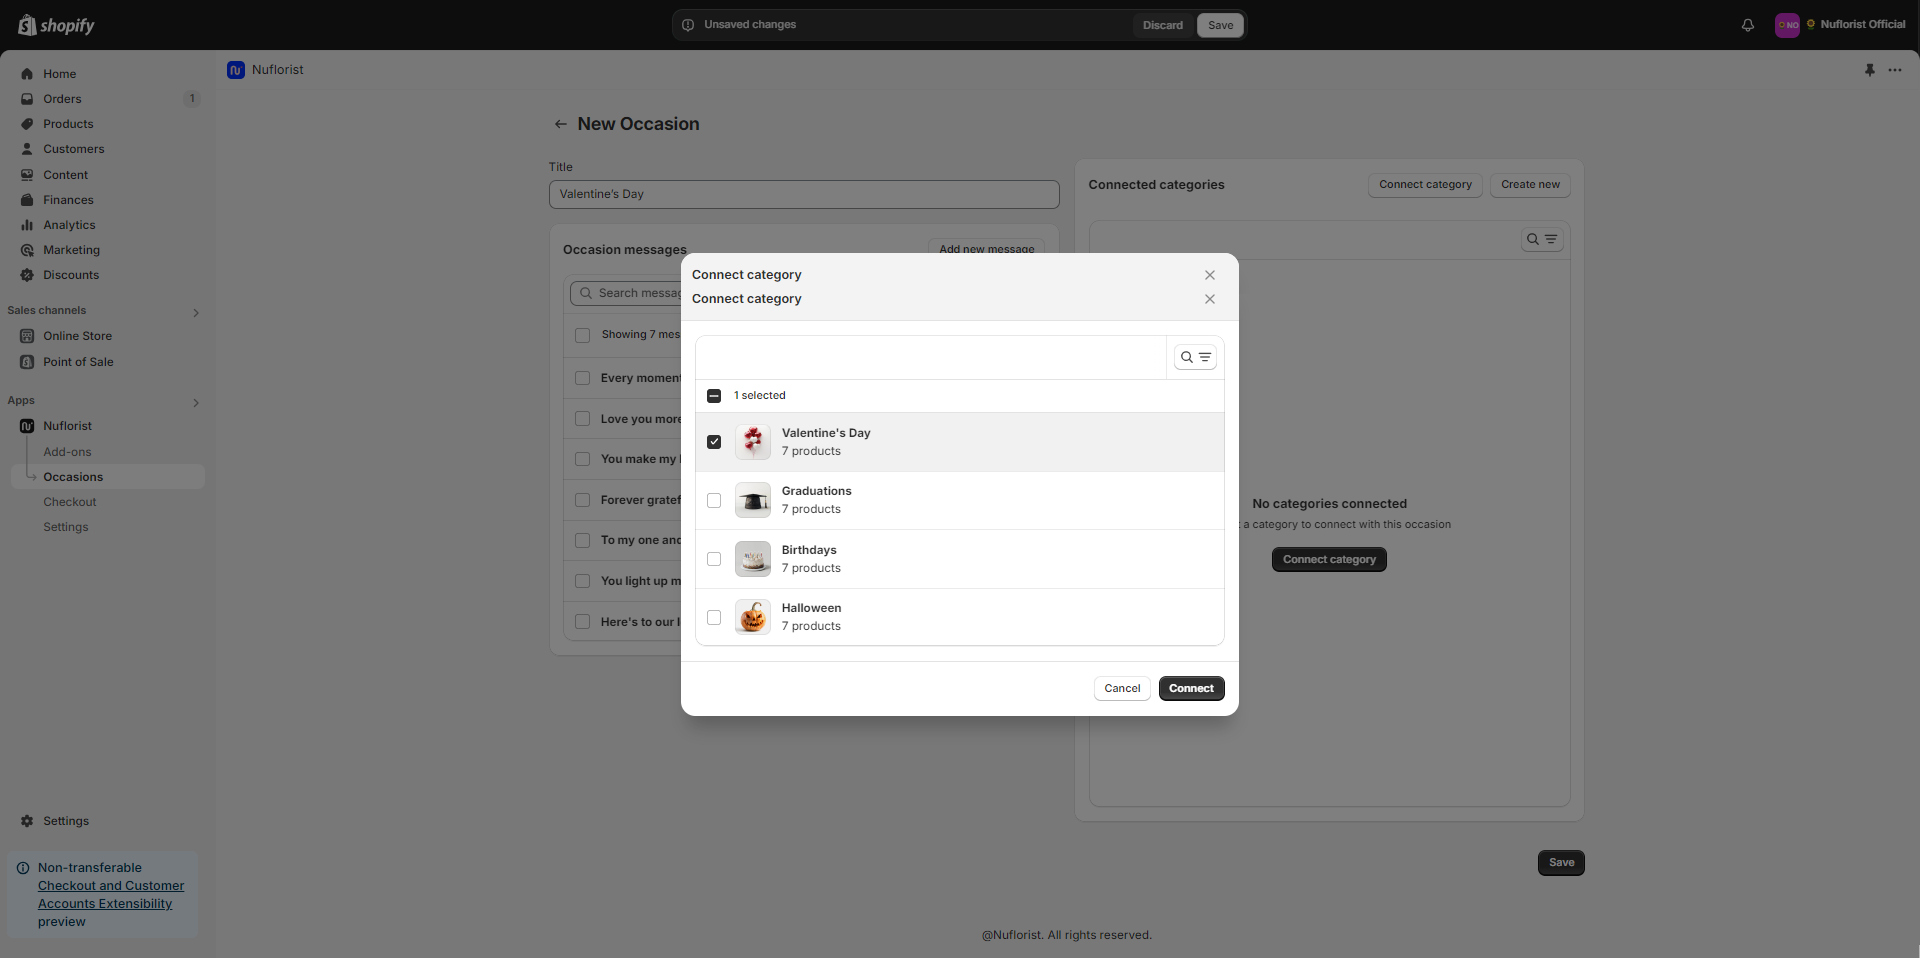
If you already have an addons category created, you’ll need to link them by clicking on the “Connect category”.

You can select more than one addons category if needed. For example, a Valentine’s Day occasion could have addons categories such as “chocolate” and “drinks”.

\* Some people like to create an addons with the same name as the occasion. In this case, you can link only one addons category.

<figure><img src="https://3921206916-files.gitbook.io/~/files/v0/b/gitbook-x-prod.appspot.com/o/spaces%2FY2Zj6yf7mzr5DgaLY1Lh%2Fuploads%2F7WXwGNI3qPuh9bX0Z472%2Fimage.png?alt=media&amp;token=2ba9bede-3013-4d4d-b537-9b8a2732f1c4" alt=""><figcaption></figcaption></figure>

## Save

Click the "Save" button to finalize the occasion setup.<br>